Let me start by saying that I'm no seamtress. I do my best and I think that may have held true for many pioneer women.
For some, sewing was a joy, for others just another necessary chore. Now that she finally has a body after so many years of just being a head, it's well high time she gets an appropriate accoutrements. So how to dress her?
Well, I decided to dress her in the year of my house was built, 1867. As any lady of the time would have done, I consulted the fashion magazine of the time,
Godey's Lady Book for the year 1867.
I decided she needed a party dress and something in a blue satin or silk to highlight her coloring and her beautiful blue eyes. In looking in the Godey's book it becomes apparent that there had to be some accessories to her dress.

I'm favoring something like this for our friend. Something a little off the shoulder to show a bit of her nameplate. I also like the little girl's trim and may add something to that effect as well.
And then there are always these....

Godey's was not only a fashion magazine but it also gave some clues to construction as it was intended to teach women who may have never had the opportunity to purchase these fashions, how to make them.
Which is as helpful to us today as it was to them to figure out how to construct these garments....

I had no pattern for Helen's dress but I knew I wanted to highlight her molded shirt so I decided to create a "rounded neckline. I made a paper pattern by laying her on the paper and add some space around it.
Then I cut it out and made a back. The back should have been a bit bigger than the front to allow for the outfit to shut, I had to add to mine.
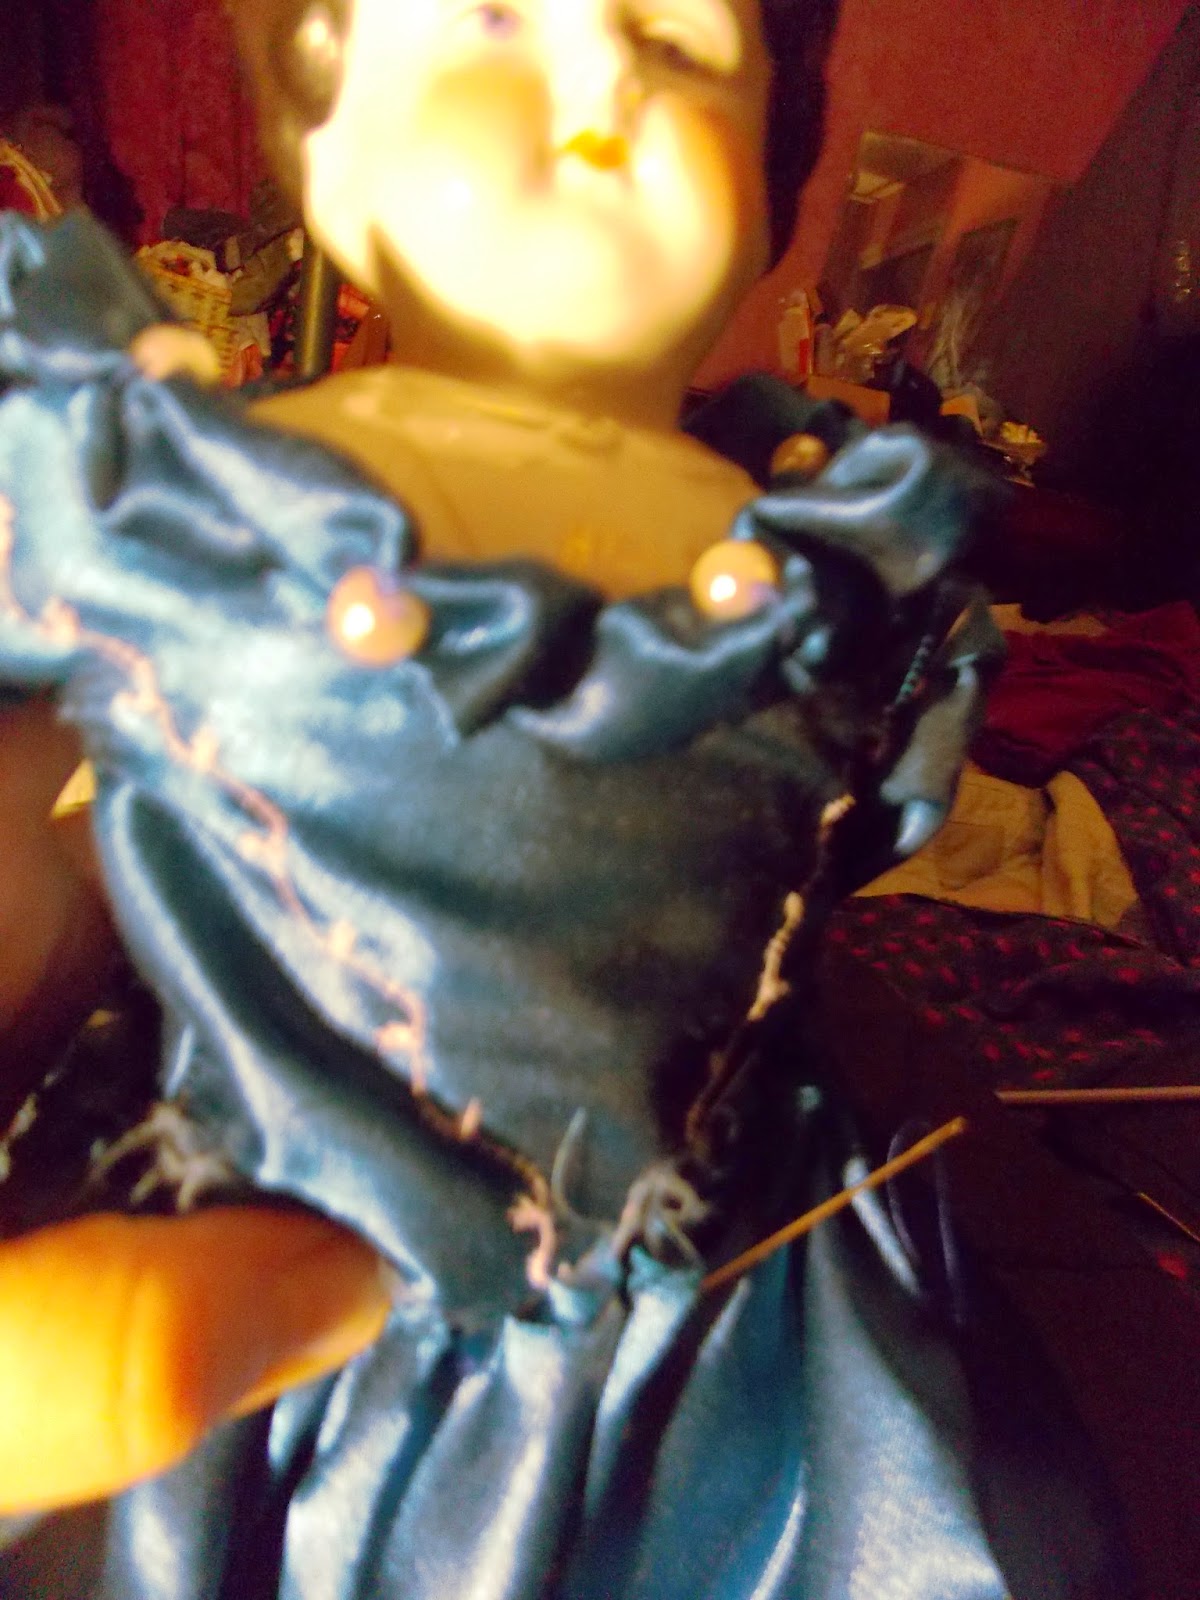
Then we needed to add some interest to the neckline. I made a tube, gathered it and attached it to the neckline, then at intervals, added some ribbon and pretty pearls that I found in my sewing kit.
 |
This is actually the same teal as before, edited it to take out the yellow tones (I took the image at night) and it shows a bit darker. |
And now the overskirt and skirt. I decided to use the Godey's Lady design for the skirt.
This seemed very easy when you really look at it. Again, pattern reading is key just like it would have been to our Great, Great, Great Grandmothers. Essentially this is an overskirt that has been gathered at intervals, so I did the same with Helen's dress.
Small stitches showing on the front side where key. I ran a long gathering stitch and pulled it up as necessary. Where I ended, I put a ribbon rose on the front which added décor but also hid the knot.
 |
| Looks a lot like the image above doesn't it? |
 |
| I did this after work at night so forgive the horrible lighting conditions. |
Now we are going to join the underskirt to the top skirt simply by running a large gathering stitch at the top of both conjoined. I did this by hand as I worked about adding runs to the satin fabric if I did it by machine.
Then I matched it to the bodice we've now made.
And added some trim to her elbows, specifically bows. And now, after about 100 years, our little china miss has a ball gown that she's so very deserving of. I wonder if I should put this on some fashion blogs, what do you think?
 |
| Finally all put together. |
This shows the full gown a bit better....
This was fun project and one that was definitely on my craft "bucket list". Do you have a craft bucket list? I still need to learn to knit socks and mittens then on to woodworking, and....
Yeah, it never really ends does it?


Oh my goodness Stacey! You did such a great job!! I can't believe you tackled such a hard outfit and pulled it off perfectly! Thank you for sharing with us :)
ReplyDeleteThanks so much Jes! It wasn't as hard as it looks but I think for not having a pattern and using what I found in my sewing stash, it came out pretty well.
ReplyDeleteOh wow, Stacey. You really went for it!! Supercute. Thank you for linking this up at Share it Sunday (linky party) at FineCraftGuild.com. So hope to see you there again Easter Sunday!
ReplyDeleteThis looks amazing! You are so talented. Pinned and tweeted. Thanks for being a part of our party. I hope to see you tonight at 7 pm. Happy Monday! Lou Lou Girls
ReplyDelete